Inspecting Pipes in Exterior Walls and Pipe Insulation
by Nick Gromicko, CMI® and Ben Gromicko
 According to the InterNACHI Standards of Practice, home inspectors are required to inspect the plumbing.
 There are two building practices related to plumbing pipes and insulation that are helpful for inspectors to know about for performing home inspections:
- All pipes located in exterior walls should be insulated.
- All hot and cold water supply pipes should be insulated.
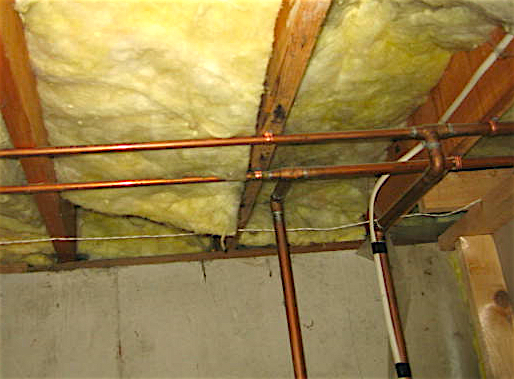
Locating water pipes in exterior walls should be avoided. If pipes are located in exterior walls, in addition to insulating the pipe, the homeowner should ensure that as much cavity insulation as possible is installed between the pipe and the outer surface of the wall. In cold climates, having pipes in unconditioned attics should be avoided. The image above is of uninsulated water supply pipes in an unconditioned basement.
Insulating water pipes can save energy by minimizing heat loss through the piping. Insulating pipes will reduce the risk of condensation forming on the pipes, which can lead to mold and moisture damage. Pipe insulation can protect the pipes from freezing and cracking in the winter, which can cause considerable damage in the walls of the home and result in significant home repair bills for the homeowner. Studies by the Department of Energy (DOE’s) Building America program have shown that distribution heat loss in uninsulated hot water pipes can range from 16% to 23%, depending on the climate. Adding 3/4-inch pipe insulation can cut overall water heating energy use by 4% to 5% annually.
The best practice is to avoid having water pipes located in exterior walls or through unheated attics. It is preferable to have plumbing fixtures aligned with interior walls. If pipes are located in exterior walls, the pipes should be insulated. To further protect the pipes from heat loss, the wall cavity containing the pipes should be air-sealed by caulking or foaming all seams between the back wall of the cavity and the framing, and by sealing any holes through the framing for the piping. In addition, cavity insulation should be installed behind the pipes, between the pipes and the exterior wall.
If the house has a hydronic (steam or hot water) heating system, heat
loss can be reduced by as much as 90% by insulating the steam
distribution and return pipes, which provides a quick payback on investment.
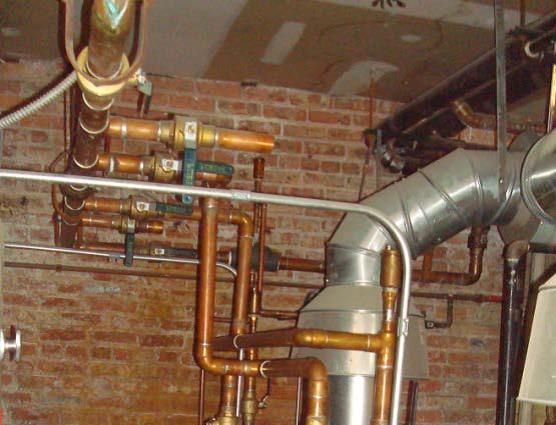
Above: Uninsulated hot water heating pipes of a central boiler in a home in Chicago.
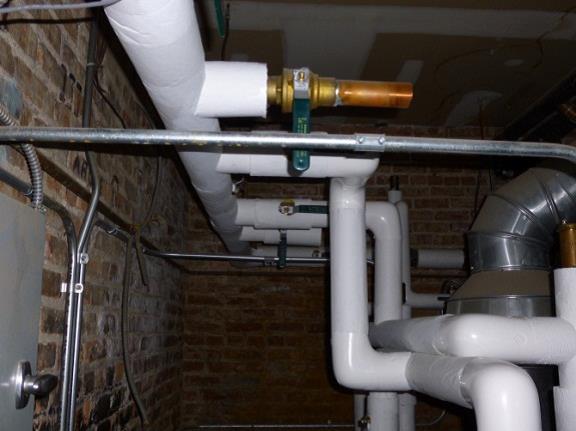
Above: Hot water heating pipes insulated with 1 inch of jacketed fiberglass.
Pipe Insulation
Pipe insulation is available in several forms: tubular pipe sleeves; spiral insulation wrap; and fiberglass batts that can be taped around
the pipes. If properly installed, all three can be effective.
Tubular pipe sleeves are made from flexible closed-cell polyethylene
or neoprene foam and come pre-cut with a lengthwise seam for easy
installation. Some pipe coverings come with adhesive strips already
adhered to both sides of the slit. Homeowners can simply peel off the plastic coverings
and press them together. There are different diameters of sleeves available
to accommodate the varying sizes of pipes, so it's important to measure the pipes before
purchasing the sleeves and match the pipe’s outside diameter to the pipe sleeve’s
inside diameter to ensure a snug fit.
Spiral insulation wrap can be made of fiberglass, foil, or polyethylene foam. The homeowner can simply unroll the material and wrap it around the hot and cold water pipes. Pipes can also be wrapped with fiberglass insulation. The fiberglass may come with a vapor barrier facing on one side, or the plastic can be purchased and wrapped around the pipes after the fiberglass insulation is installed. Gloves, goggles, and a dust mask should be worn while installing fiberglass insulation.
How to Insulate Pipes Using Tubular Foam Sleeves
- Cut the pipe sleeve to length and wrap it around the pipe, with the slit facing down, making sure there are no gaps between sleeves. To cover bends in the pipe, make a joint at the elbow, and angle the ends of the foam to form a mitered corner that fits the angle of the pipe.
- Remove the paper strips covering the self-sealing, pre-glued seam and press the edges together.
- Tape over the seams and joints with acrylic or aluminum foil tape to increase durability.
- Use wire, tape, a plastic tie, or metal clamp to secure the insulation (and plastic covering) to the pipe every 1 to 2 feet.
- Use caulk or foam to seal any holes where the pipes penetrate walls, floors, ceilings or framing.
- If pipes run through exterior wall cavities, insulate the wall cavity just as you would the other cavities if you were installing blown cellulose, fiberglass, or spray foam, which will easily fill in the space behind the pipes. If you're installing fiberglass or mineral wool batts, split the batt lengthwise. Slide half the batt behind the pipes and fit it into the cavity. Fit the remainder of the batt in front of the pipes to fill the cavity. Alternatively, cut a piece of rigid foam to fit the wall cavity dimensions. Run a bead of foam adhesive around the back of the foam, slide it behind the pipe, and press it into place to seal it to the back wall of the cavity. Use caulk or canned foam to air-seal the edges to the framing of the cavity. Lay a split batt over the front of the pipes.
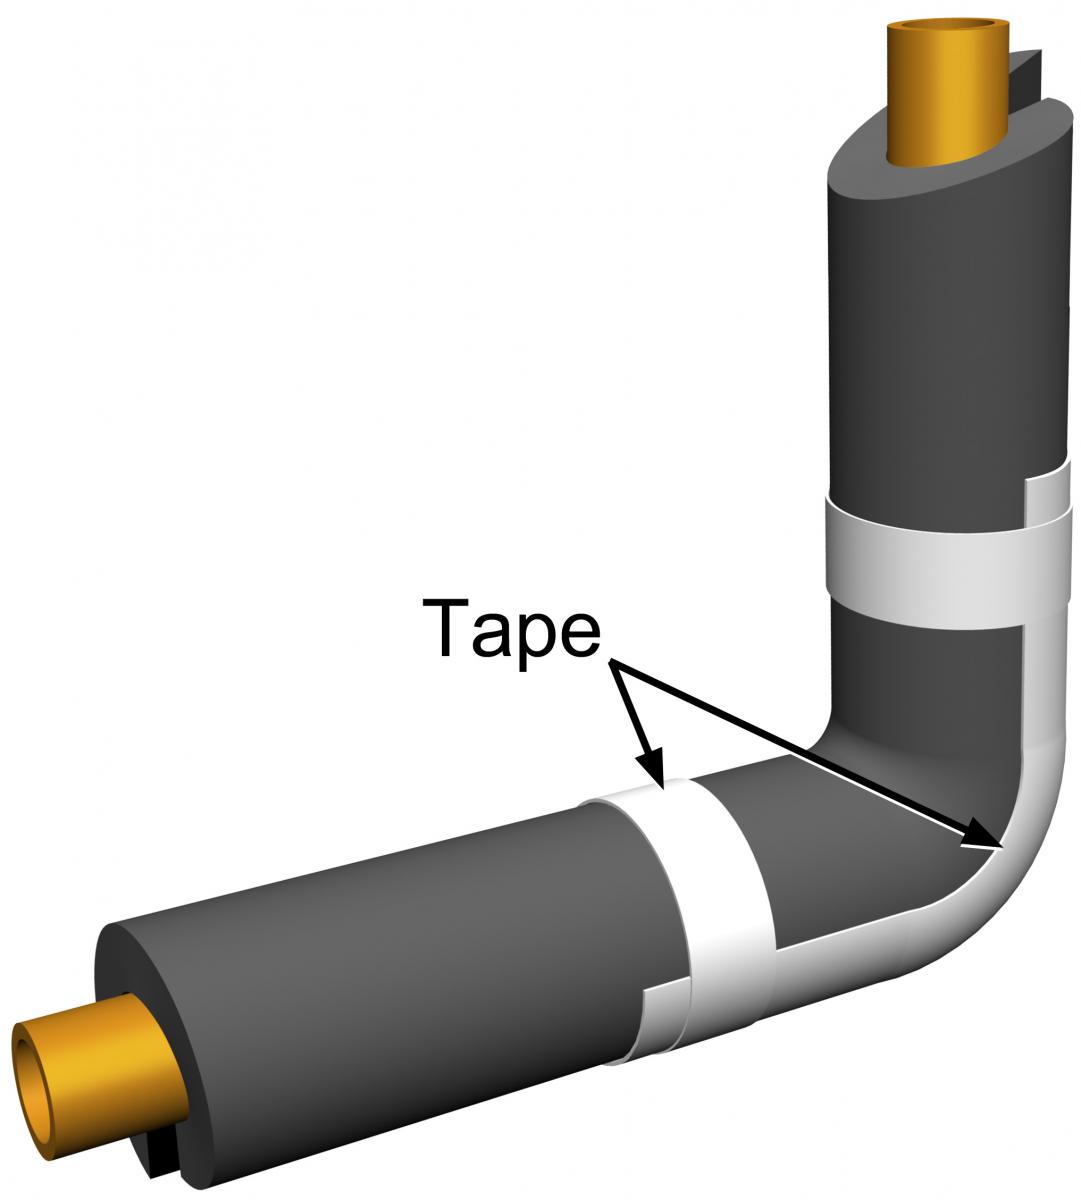
Above: Tubular pipe insulation sleeves come with a pre-cut seam, making them easy to wrap around the pipes and seal.
How to Insulate Pipes Using Spiral Wrap or Fiberglass Batts
- Secure the end of the spiral wrap or fiberglass batt on the pipe with tape.
- Wrap the insulation around the pipe in a spiral fashion, overlapping each successive layer by a ½-inch for tape, or half the width of the batt insulation. Wrap the batts as loosely as possible because compressing them will reduce their R-value.
- If you're installing fiberglass insulation without a moisture barrier, wrap plastic around the insulated pipe and seal it with tape to prevent the insulation from getting wet.
- Use wire, tape, a plastic tie, or metal clamp to secure the insulation (and plastic covering) to the pipe every 1 to 2 feet to keep the insulation from sliding out of place.
- Use caulk or foam to seal any holes where the pipes penetrate walls, floors, ceilings or framing.
- If pipes run through exterior wall cavities, insulate the wall
cavity just as you would the other cavities if you were installing blown cellulose,
fiberglass, or spray foam, which will easily fill in the space behind
the pipes. If you're installing fiberglass or mineral wool batts, split the batt
lengthwise. Slide half the batt behind the pipes and fit it into the
cavity. Fit the remainder of the batt in front of the pipes to fill the
cavity. Alternatively, cut a piece of rigid foam to fit the wall cavity
dimensions. Run a bead of foam adhesive around the back of the foam,
slide it behind the pipe, and press it into place to seal it to the back
wall of the cavity. Use caulk or canned foam to air-seal the edges to
the framing of the cavity. Lay a split batt over the front of the pipes.

Above: Wrap the insulation around the pipe in a spiral fashion, overlapping each successive layer.
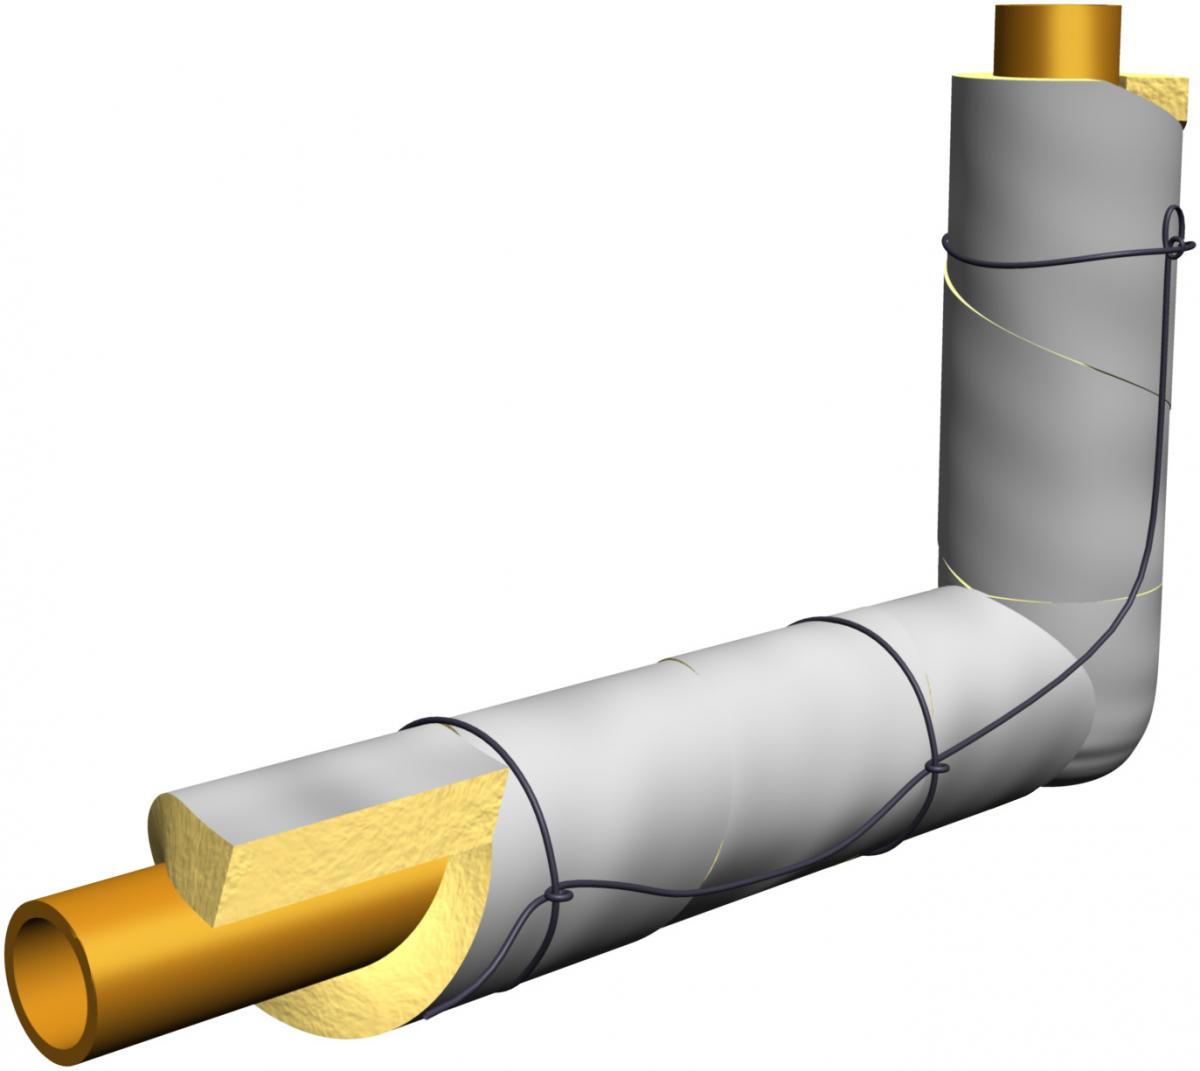
Above: Wrap batt insulation around the pipe loosely enough not to compress the insulation, and secure it with wire or tape.
How to Insulate Steam Pipes
Any surface over 120° F should be insulated, including boiler surfaces, steam and condensate return piping, and fittings.
- Measure the length of the pipe you are insulating and cut the fiberglass sleeve to match. Use 1-inch-thick, heavy-density, resin-bonded fiberglass sleeves approved for steam or hot water heating systems, since other forms of insulation can melt.
- Open the pre-cut fiberglass sleeve by pulling on the release strip.
- Fit the sleeve around the pipe and align the self-sealing lap over the sleeve.
- Seal it by rubbing firmly on the adhesive strip to seal the lap to the sleeve.
- Wrap high-temperature tape around the pipe where two sleeves meet.
- Install removable insulation jackets on elbows, tees, and other pipe fittings.
- Use caulk or foam to seal any holes where the pipes penetrate walls, floors, ceilings or framing.
- If pipes run through exterior wall cavities, insulate the wall cavity just as you would the other cavities if you were installing blown cellulose, fiberglass, or spray foam, which will easily fill in the space behind the pipes. If you're installing fiberglass or mineral wool batts, split the batt lengthwise. Slide half the batt behind the pipes and fit it into the cavity. Fit the remainder of the batt in front of the pipes to fill the cavity. Alternatively, cut a piece of rigid foam to fit the wall cavity dimensions. Run a bead of foam adhesive around the back of the foam, slide it behind the pipe, and press it into place to seal it to the back wall of the cavity. Use caulk or canned foam to air-seal the edges to the framing of the cavity. Lay a split batt over the front of the pipes.
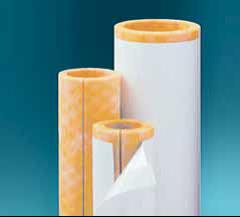
Above: High-density fiberglass pipe insulation comes with a vapor barrier cover and self-adhesive seam.
Summary
Installing pipes in exterior walls should be avoided. If they must be located in exterior
walls, the homeowner should ensure that the pipes are insulated and that adequate cavity
insulation is installed behind the pipes. Air-sealing the wall cavity will help prevent cold air from flowing around the pipes and causing freeze problems. All hot and cold water supply pipes should be insulated, which can save energy by minimizing heat loss through the piping.
Resources from 2012 IECC (International Energy Conservation Code)
- Table 402.4.1.1 Plumbing and wiring: Batt insulation should be cut
to fit around wiring and plumbing in exterior walls; insulation that
conforms to the space should fill in the space behind the piping and
wiring.
- R403.3 Mechanical system piping capable of carrying fluids above 105° F or below 55° F shall be insulated to a minimum of R-3.
- R403.4.2 Hot water pipe should be insulated to at least R-3 if it meets any of the following conditions: it is in an unconditioned space; it is larger than ¾-inch diameter; it serves more than one dwelling; it runs from the water heater to the kitchen; it runs from the water heater to a distribution manifold; it is located under the floor slab; it is buried; it is used in a recirculation system other than a demand recirculation system; or it exceeds the following maximum run length from the distribution manifold to the point of use: 30 feet for 3/8-inch pipe, 20 feet for ½-inch pipe, 10 feet for ¾-inch pipe, or 5 ft for larger than 3/4-inch pipe.

